Want to dress up your Christmas gifts with a fun In the hoop embroidery design? I have the perfect project, but it comes with a WARNING…making these are addictive!!

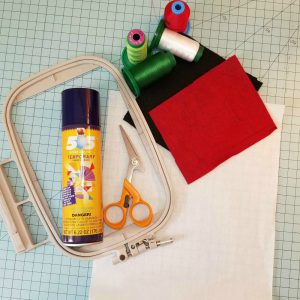
Let’s get started! I used wool and felt. It’s hard to tell the difference in a picture, but the red is wool and the black and white are both felt from the bolt. Either way, they both look good. You can also use vinyl or glitterflex. Let’s go thru the supply list….
- 5×5 inch of wool or felt
- tear away stabilizer
- variety of thread colors
- In the hoop Christmas tag embroidery design
- embroidery hoop (these designs fit a 4×4)
- ribbon or string
- 505 adhesive spray
- scissors (I used pinking shears to cut around the edge)
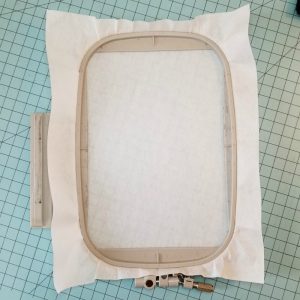
To get started, hoop a piece of tear away stabilizeer. I used my 5×7 hoop in the photos but the designs are made for a 4×4.
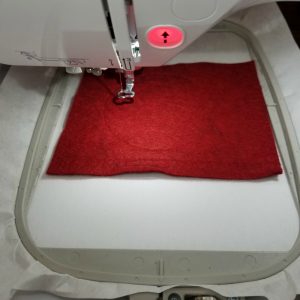
Load hoop into your machine. The first stitch is the placement stitch, which is a simple running stitch that will be the guide to show where to place your fabric.
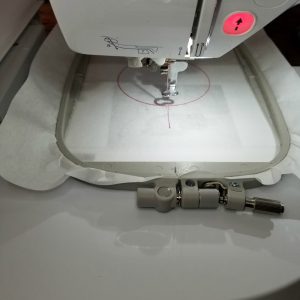
Lightly spray fabric piece with 505 adhesive spray and lay it down the over the placement stitch. Make sure that the line is fully covered with at least half an inch overhang.
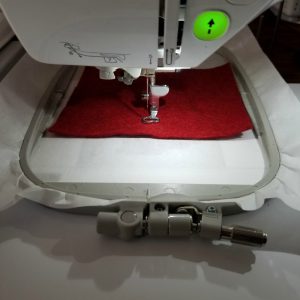
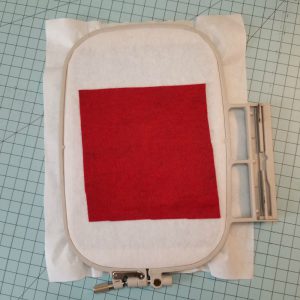
The next stitch is the tack down stitch. It is a running stitch that will hold the fabric in place while the design is stitching. It’s a little hard to see in the photo below since I used thread that matches the fabric.
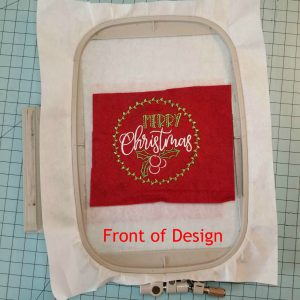
The next few stitches will be the embroidery design.

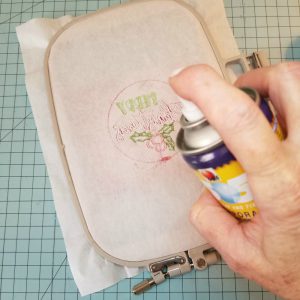
Once the design has finished stitching, remove the hoop from the machine. This is where the back side of the tag is attached. Lightly spray the back of the stabilizer with 505 adhesive spray.
Then take the second piece of fabric and float it on the hoop by gently laying the fabric on top of the back side of the stabilizer, covering the design with at least half inch overhang around all sides. Be careful when doing this as not to press firmly on the stabilizer. You don’t want it to move. You can also attach a small piece of painters tape at the top and bottom of the fabric to hold it in place.
Place the hoop back into the machine and stitch. The next stitch will go around the design attaching the top fabric piece to the back fabric piece. The final stitch will be the buttonhole stitch at the top where you place the ribbon.

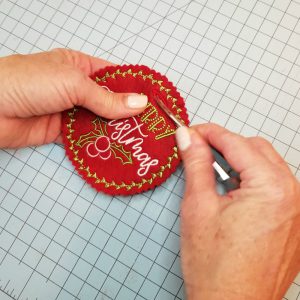
Remove from hoop and gently tear away the stabilizer from around the stitches. Then cut around the stitches about 1/4 of an inch around. I used pinking shears to cut around the edges, but feel free to use whatever you have. Regular scissors work just fine. The final step is to very carefully trim between the buttonhole and slide a decorative ribbon or string through. Now…you can pat yourself on the back!! You have just finished an in the hoop Christmas tag.

Aren’t these adorable! Visit www.bigbeeapplique.com for more In the Hoop designs.