So you have a new embroidery machine and you want to make one of those cute appliques you see but aren’t sure where to start and are feeling overwhelmed by the thought of it. Don’t worry, that’s natural and very normal, so don’t get discouraged. I will walk you through the basics of what you need to know.
But first, a fun fact about machine appliques….they are a great way to show off your creativity. That’s right, you can be as fun and creative as you want to be. Just because you purchased one of my designs doesn’t mean you have to make it look like mine. I know that sounds crazy, right? I try to use fun fabric and love sharing with you the designer and where it came from, but if you have a favorite piece of fabric….use it. I love getting photos from you doing something different and oftentimes cuter than what I did. It makes me smile. So be your own kind of creative, that is what makes applique’s so amazing, you can use the same one over and over and always get a different look. And if you really want to be crazy and wild, use a thread color that doesn’t match your fabric!!
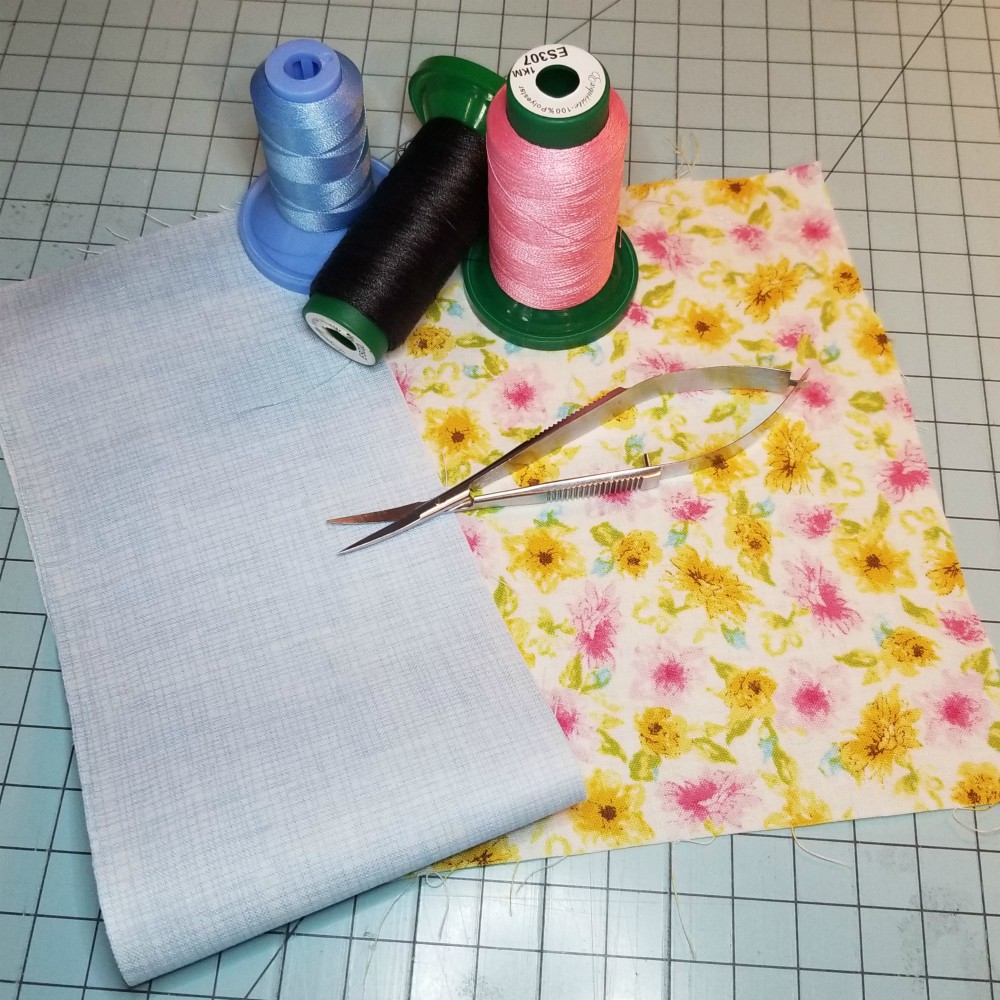
So let’s get started… gather your supplies and meet me at your machine!! You will need the following:
- Embroidery hoop
- Stabilizer
- Item to stitch on such as a shirt, bag, pillowcase, etc. (If this is your first time, I would recommend scrap fabric!)
- Scissors (small)
- Embroidery thread
- Fabric (ironed and free of any wrinkles)
- Applique Design
- 505 adhesive spray (optional)
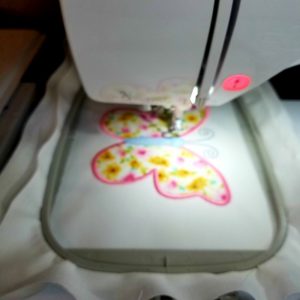
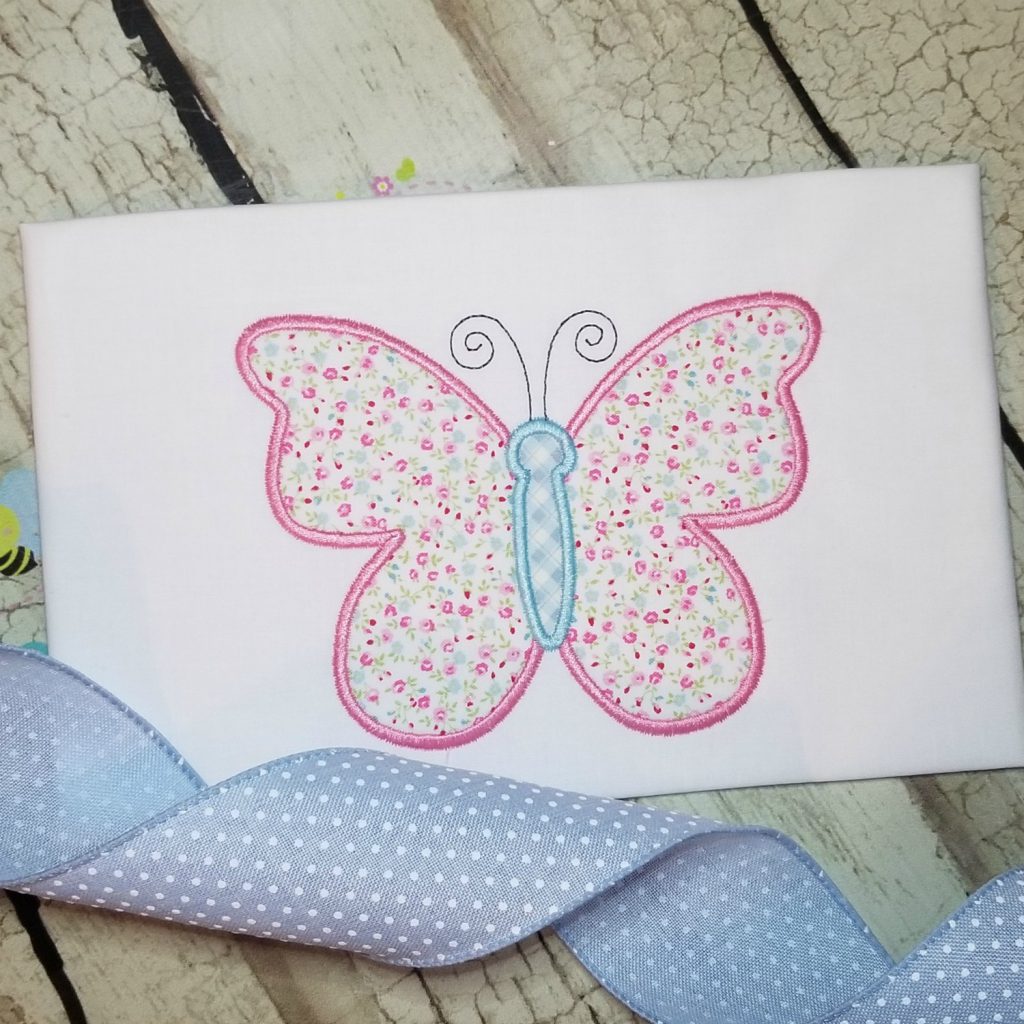
This applique design is a butterfly that you can download for free here. Go grab it, load it in your machine and let’s get started!
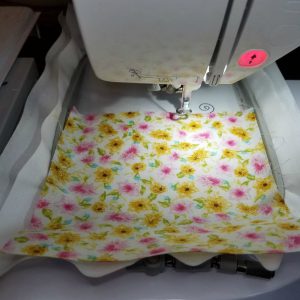
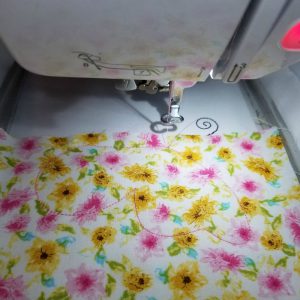
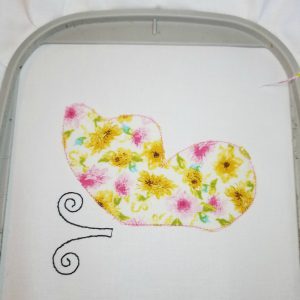
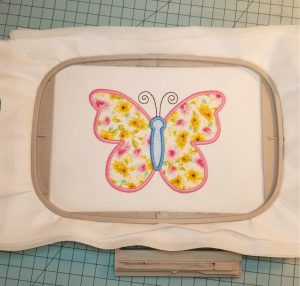
Place your hoop in the machine and load your butterfly design according to your manufacturers instructions. The very first stitch on this design is the antenna. I used black thread to stitch them, feel free to use any color you want.